PowerShell Script to Enable Windows Hotspot and Automate
This PowerShell script enables the Hotspot feature on Windows 10 by using Windows Runtime to access the necessary methods and properties.
→Prerequisites
- Windows 10
→How to Use
- Open Windows PowerShell as an administrator.
- Copy and paste the script into the PowerShell console.
- Press Enter to execute the script.
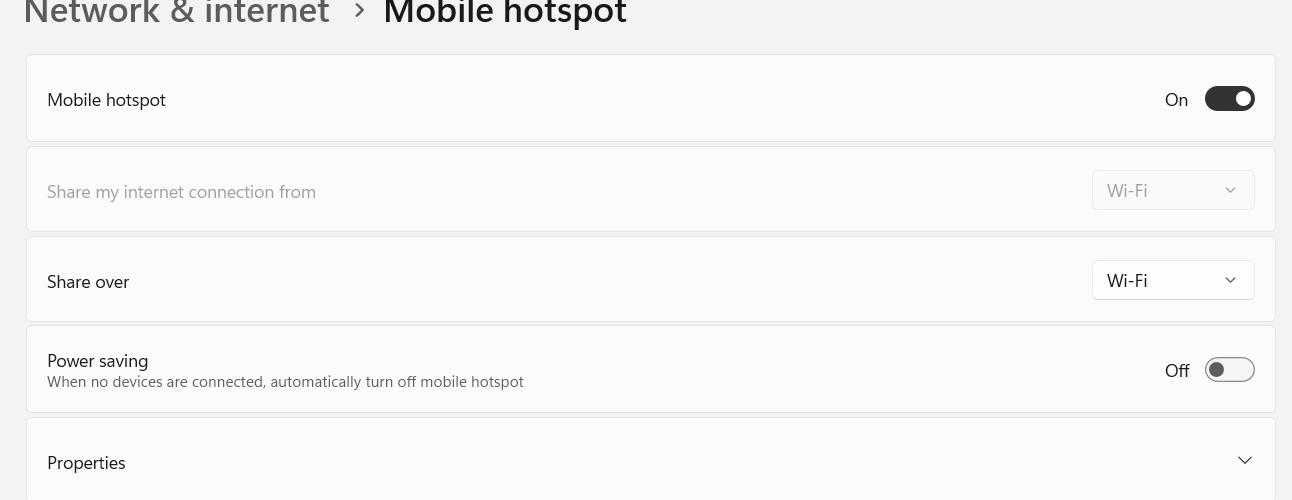
- If the Hotspot is off, it will be enabled and a message “Turned On” will be displayed indicating success.
- If the Hotspot is already on, a message “Already on” will be displayed.
→Script Overview
Below is the complete script. For update to date script check out here.
The script first imports the necessary Windows Runtime namespaces and classes. Then, it uses the Add-Type cmdlet to load the “System.Runtime.WindowsRuntime” assembly to allow Windows Runtime Interop.
It defines a function named Await to convert Windows Runtime tasks to .NET Tasks, which is used when calling the “StartTetheringAsync()” method.
The script then gets the internet connection profile by calling GetInternetConnectionProfile() method and creates a Tethering Manager instance for the current profile using CreateFromConnectionProfile() method.
Finally, the script checks whether Hotspot is already enabled or not, and starts the Hotspot using the StartTetheringAsync() method if it is not already on.
The script is useful when you don’t want to waste time installing third-party software just to access the Hotspot feature. Since the script is executed via PowerShell, it makes it very easy to automate Hotspot access for multiple users or on domain computers using a domain policy to run the script on startup.
→Automate enabling Hotspot when User logs in
This section will provide a brief overview of how you can automate your Windows PC to enable the Hotspot automatically when the user logs in.
↓Prerequisites
- Windows 10
- Windows PowerShell
- Task Scheduler
↓Steps
- Open Windows PowerShell as an administrator and run the following command to create a new PowerShell script file:
New-Item -ItemType File -Path "C:\Scripts\enable-windowsHotspot.ps1"
- Open the newly created file in Notepad or any other text editor and copy and paste the script for enabling the Hotspot in it.
- Save and close the file.
- Press Windows + R to open the Run dialog box, type “taskschd.msc” and click OK.
- In Task Scheduler, click on “Create Task” on the right-hand side of the window.
- In the “Create Task” window, provide a name for the task such as “Enable Hotspot on Login”.
- Navigate to the “Triggers” tab and click “New”.
- Select “Begin the task: On logon” and click OK.
- Navigate to the “Actions” tab and click “New”.
- Set the Action to “Start a program”.
- In the “Program/script” field, enter the path to the PowerShell executable. For example:
C:\Windows\System32\WindowsPowerShell\v1.0\powershell.exe - In the “Add arguments” field, enter the path to the PowerShell script file. For example:
"C:\Scripts\enable-windowsHotspot.ps1" - Click OK to save the action.
- Navigate to the “Conditions” tab, uncheck “Start the task only if the computer is on AC power” and click OK to save the task.
- Close Task Scheduler.
That’s it! The next time a user logs in to the Windows PC, the Hotspot will be automatically enabled. Note that the user account used to create the task must have administrator-level permissions to enable the Hotspot.